Service tickets step by step
Master the basics with our beginner-friendly tutorials that will have you organizing and responding to service tickets in Asana in no time.
Start with your set up
Get your system running first. You’ll be ready to handle support tasks in a few simple steps – and in under 15 minutes.
- Create your SkilTiq Asana member and name it e.g. “@ServiceTicket”.
- Customize your ticket landing page.
- Make SkilTiq accessible for your customers:
- Create a link to your customized ticket landing page.
- Integrate SkilTiq into your programs, apps and websites via the API.
- Customize your automated response mails.
- Create internal assignment automations (with Microsoft 365).
Creating a service ticket
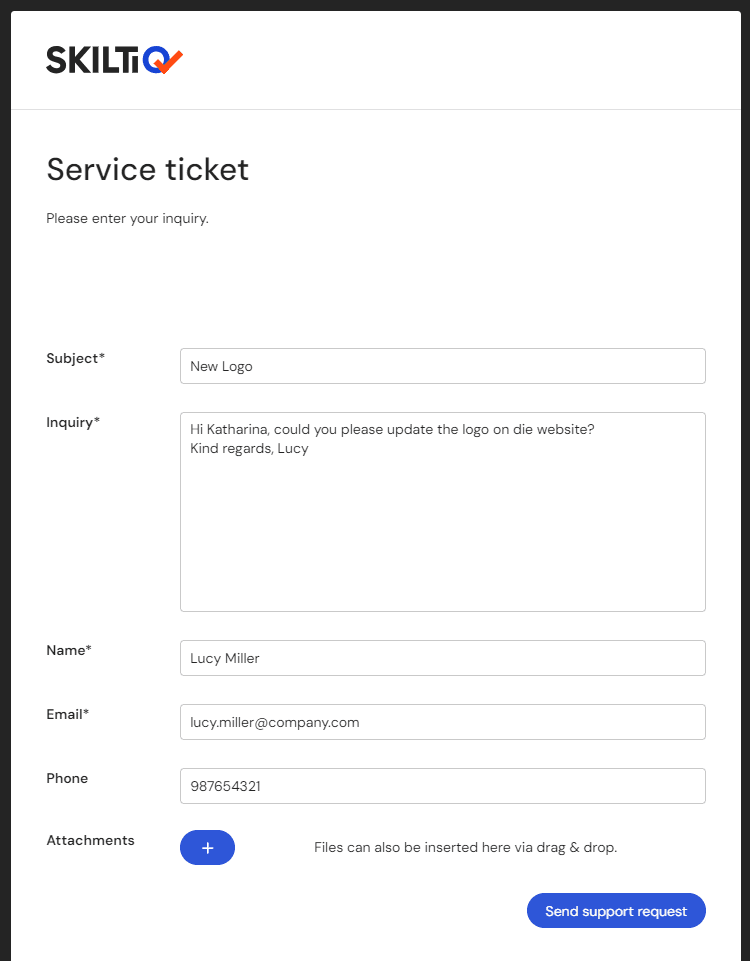
The user creates a ticket on your branded ticket landing page.
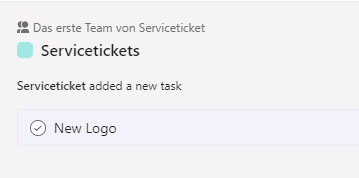
The ticket appears in Asana automatically assigned to predefined members.
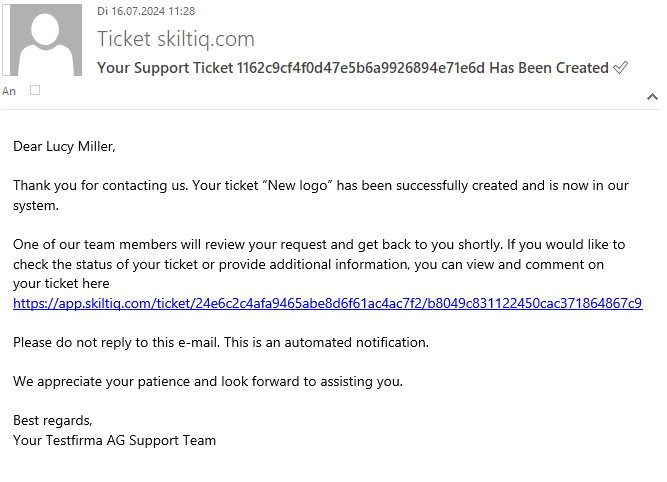
The user automatically receives an e-mail confirming that the ticket has been created.
Responding to a service ticket
The support request can be answered via your SkilTiq Asana member account e.g. “@ServiceTicket” (name chosen freely).
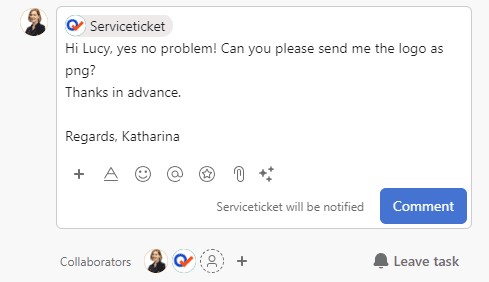
The user will be informed of the new comment by e-mail.
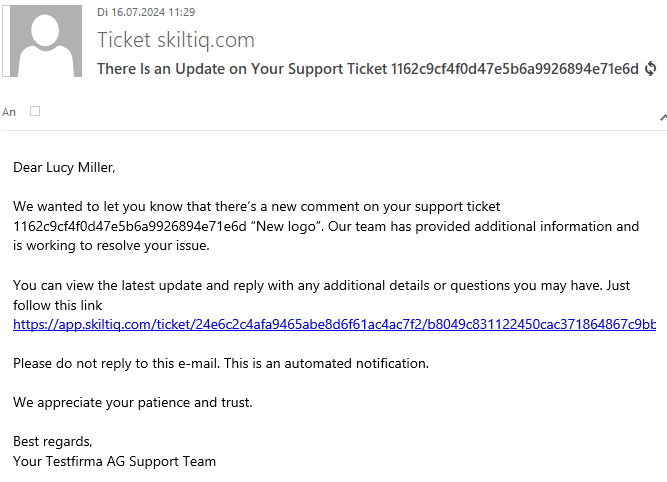
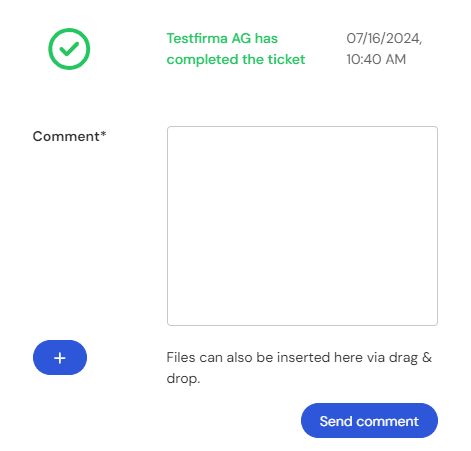
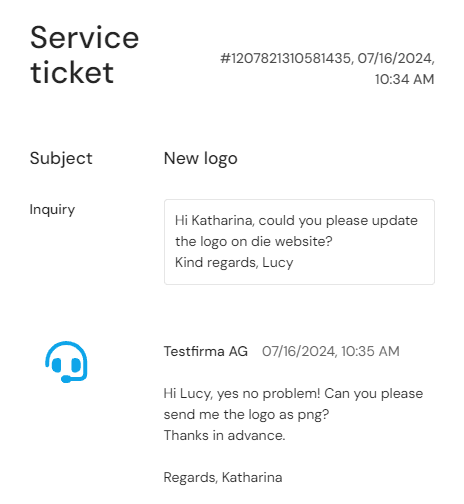
A link in the e-mail leads directly to the ticket. Here, the user can post a new comment.
Closing a service ticket
By ticking the box in Asana, the ticket task can be marked as completed.
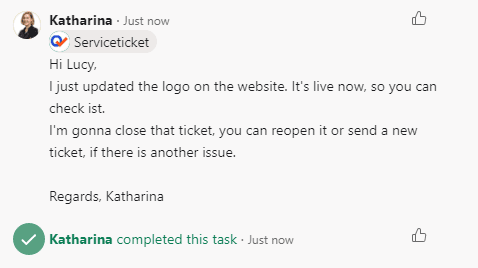
The user is then informed by e-mail that the ticket has been closed.
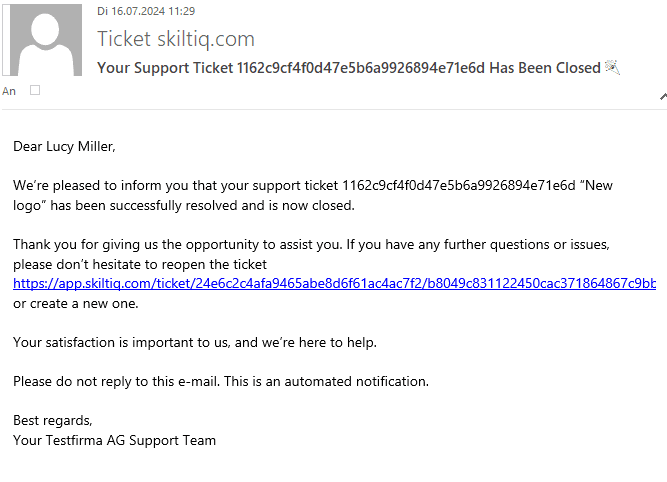
Even after the ticket is closed, it can be viewed at any time via the link in the e-mail. If enabled in the settings, tickets can also be reopened, and further comments can be submitted.
